If you want to sell or donate your old PC or just the drive inside, you need to make sure that none of your personal data can be recovered by the next person. Simply deleting your files or resetting Windows is not enough, as there are tools that can easily undelete them. You need to securely erase your drive, which means overwriting all the data with zeros or random patterns.
One way to securely erase your drive is to use the Windows Reset This PC feature, which is built into Windows 10 and 11. This feature allows you to reset your PC to its factory default state, while giving you the option to clean the drive as well. Here’s how to use it:
- Open Settings and go to Update & Security > Recovery.

2. Under Recovery options, click Reset this PC.
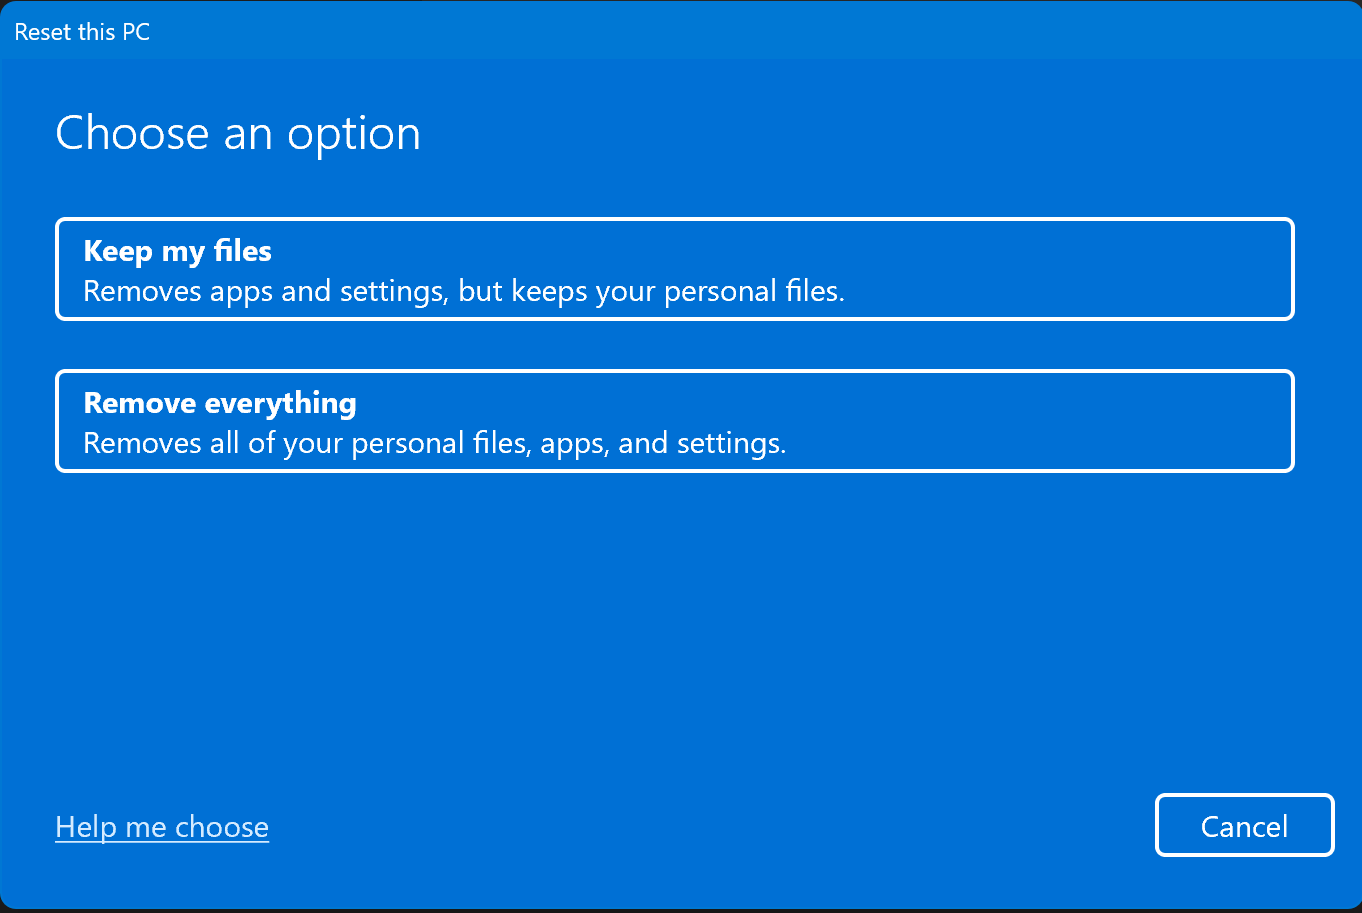
3. Choose Remove everything.
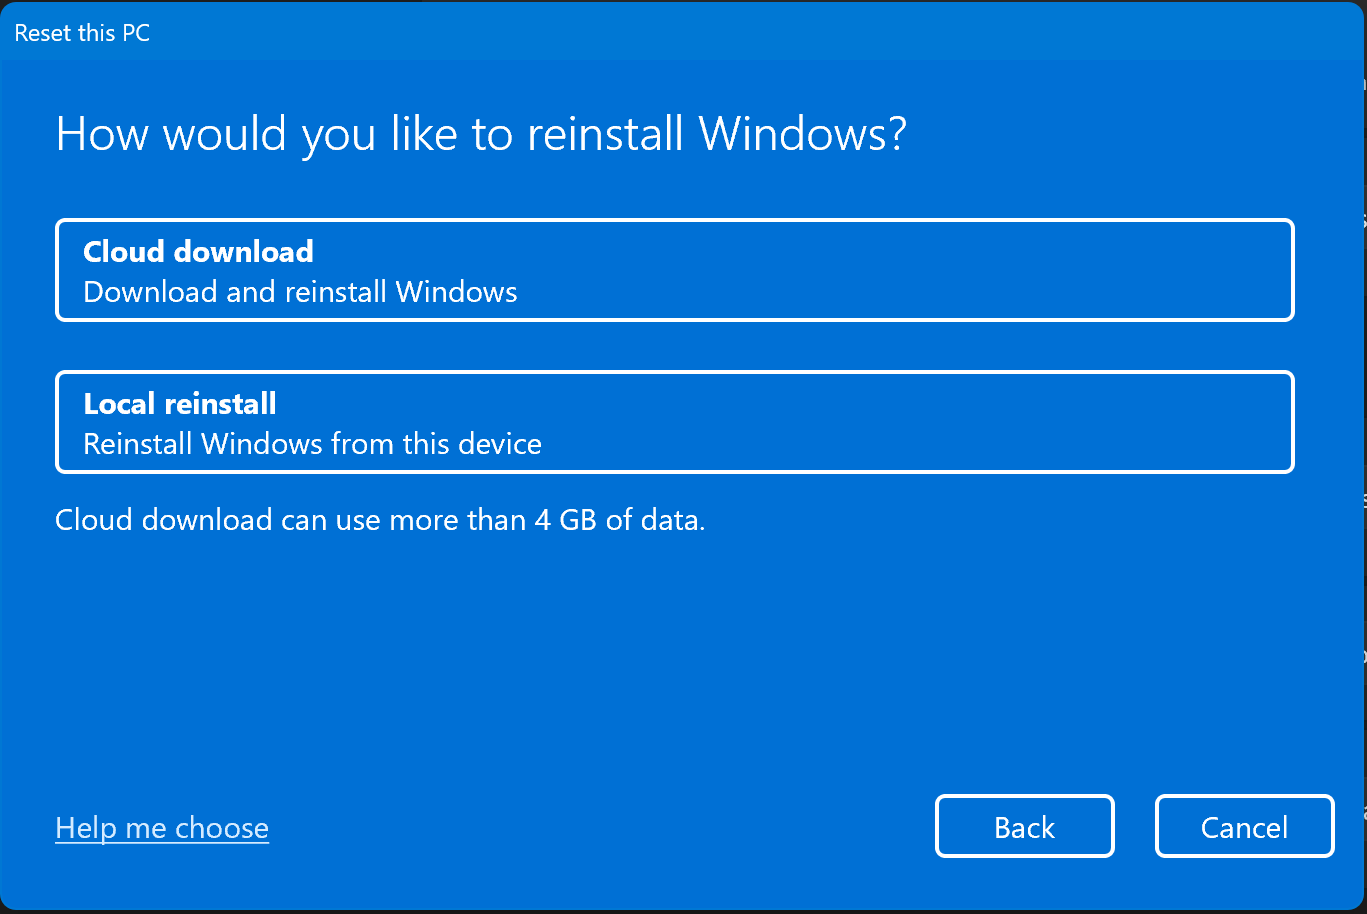
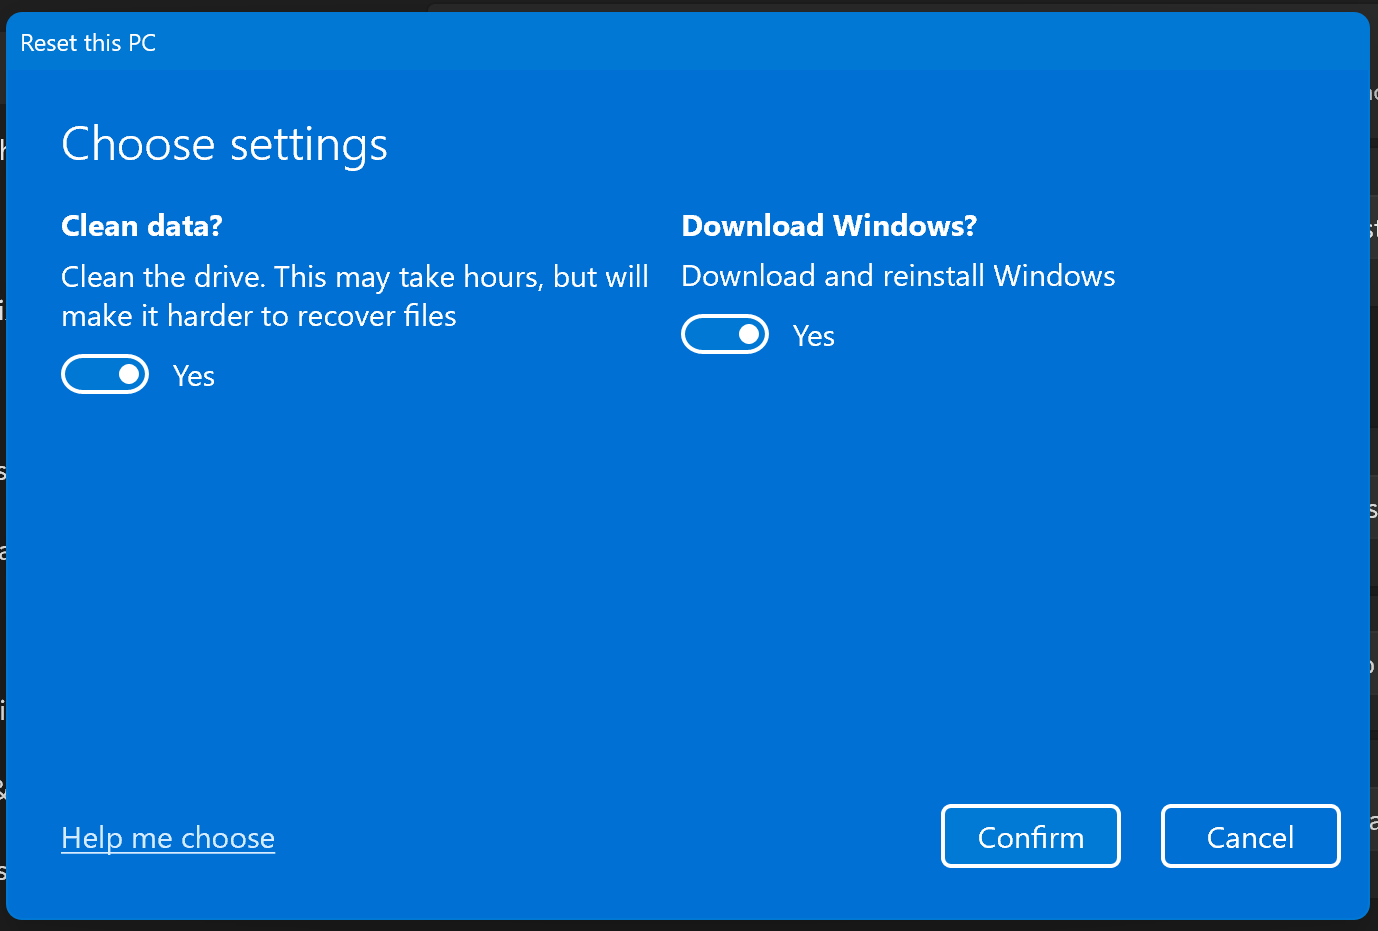
4. Choose Cloud download (new image, local reinstall will take longer as it need to check & repair the local image)
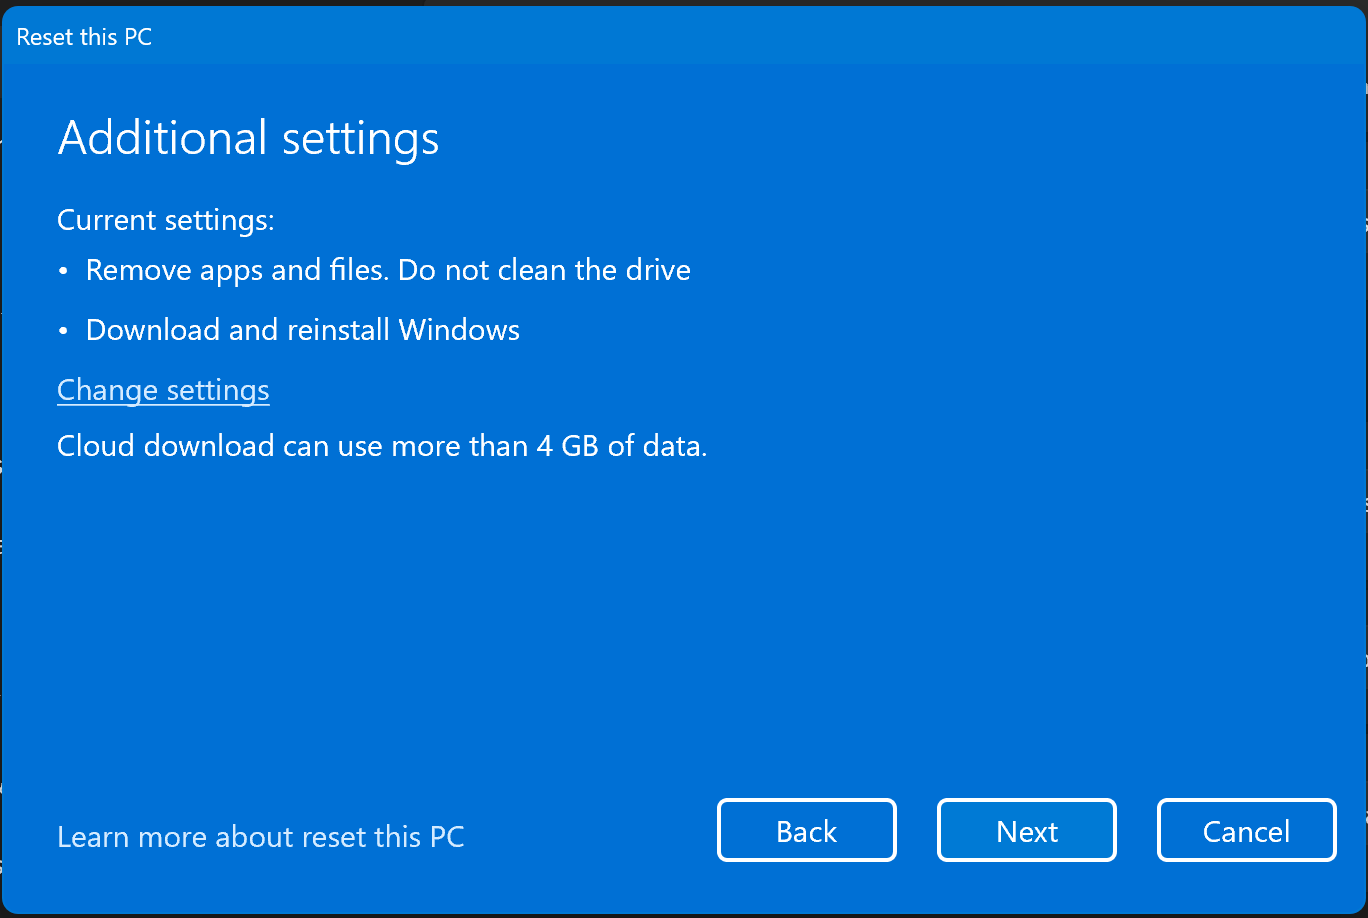
5 Choose change settings to access the clean data option to Fully clean the drive. The standard option is faster, but less secure. Setting Clean Data second option will take several hours, but will overwrite everything on the drive with zeros, making it harder to recover any data.
6. Follow the on-screen instructions to complete the reset process.
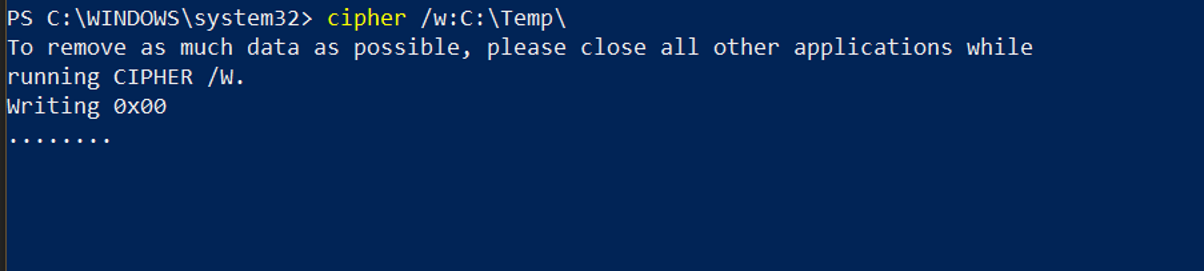
Note that this method will only work if you have a single drive in your PC, or if you want to erase the drive that has Windows installed on it. If you have multiple drives or partitions, or if you want to erase an external drive, you can use the Windows built-in command-line tool cipher to erase folder or entire drives.